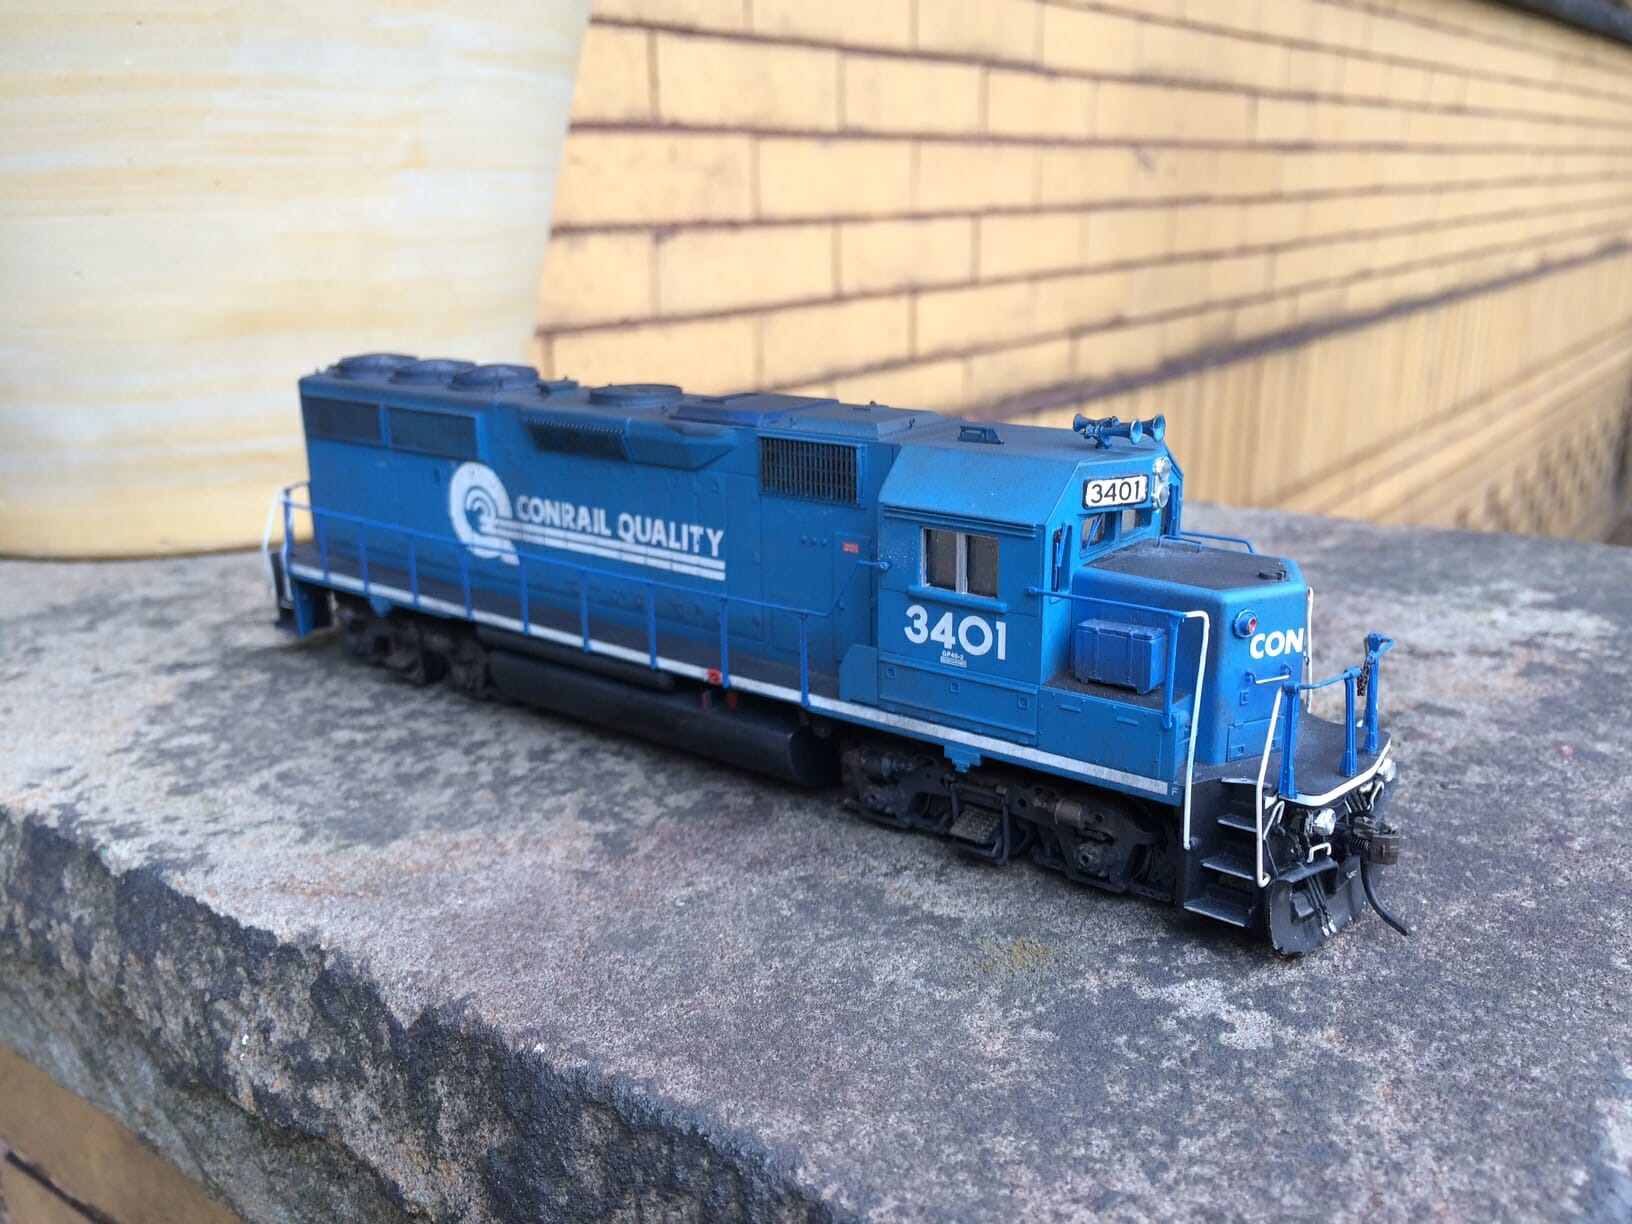
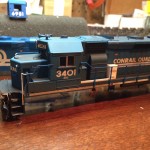
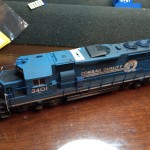
Last summer, on a random trip to a local hobby shop, I spotted Conrail 3401 for sale at a good price. Thinking that I could use some more four axle power for my intermodal trains, I purchased the Athearn RTR unit for about $65. I knew that the numberboards would need to be re-decaled as the font was wrong, but otherwise the unit looked right. Right?
In the initial round of detailing, I renumbered the number boards, added a snowplow and a cab signal box (probably both Details West), MU hoses, lift rings, and uncoupling levers. Perfect!

Well, no. My buddy Dave pointed out a few things, most notably that the 3401 needed an anticlimber. So, I added a Cannon anticlimber – and at this point spent some time downloading photos and figuring out what other parts were needed. The Athearn horn was no good, so I got a Detail Associates horn. I figured, since I was working on the anticlimber I might as well add ditch lights. Details West under-deck metal ditch lights and Richmond Controls sunny white surface-mount LED’s (I ordered the variety that is pre-wired to #30 magnet wire). These LEDs are tiny, and sit inside the ditch lights. I then used Micro Kyrstal Kleer to set the lights and make “lenses”. Dave also mentioned that these units had trade-in trucks from older GP’s, so I ordered those from Athearn. It was also determined from my research that these GP40’s had “bug eye” class lights on the nose.

At this point, I was able to obtain some Cannon & co cab detail sprues which include a nice variety of class lights. Thanks go to Cannon & co and a couple of modelers who sent me some spares! I posted some progress photos to Trainorders.com, where I learned that I wasn’t quite there yet: it was pointed out that units 3386-3403 were all built in Jan and Feb. of 1980, making them very late GP40-2’s. These units have features more like a GP50: updated exhaust silencer, Q fans, and Conrail’s own flange lubrication system. I was a bit disheartened to learn that I wasn’t quite there yet…
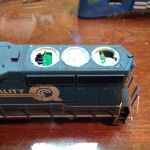
The next thing I did, was to purchase “Conrail, the Final Years”, which has been a great reference. This particular unit is well-documented on page 24, which gave me a really good look at things. At some point in the mid-90’s, the nose was rebuilt with standard marker lights – and this nose did not feature “Quality” even though the unit was a CR Quality unit. I ultimately installed marker lights that are somewhat like the original “bug lights” but decided to remove the Quality from the nose anyway.
I ordered more detail parts: Smokey Valley 48″ Q fans, Precision Scale handrail stanchions, (since the front platform needed floor-mount stanchions like on an SD40-2), and a Rail Power Products exhaust silencer. After quite a bit of work with the Dremel tool and diamond files, I was able to add the new parts. Since this unit was already painted and weathered, it took some doing to blend in the new parts. The roof ultimately ended up a bit over-weathered but I don’t think it detracts too much.
Scratchbuilding the flange lube system wasn’t too bad, considering I’d never scratchbuilt before. Also, since I had the unit all apart, I decided to install an A-Line Athearn Repowering kit. This was a bit annoying in that I had to order additional parts (I hate waiting) – the kit comes with a Mashima can motor, flywheels, and some wiring. But it also needed some additional universal joints and other drivetrain parts, as well as LokTite in order to glue the flywheels (and I also used it for the drivetrain). This unit had something funky with the Athearn motor, and after all the time (and money!) I put into this, a good motor was a worthwhile investment. Finally, I airbrush-blended all of the new roofline details.


In summary, here’s the final parts list:
- Detail Associates cab signal box
- Details West #190 3-chime horn
- Details West below-deck EMD ditch lights
- Richmond Controls micro LED’s (in hindsight, I should have used these for ALL of the lights, but I only had a pair on hand at the time.)
- Cannon & co. EMD Anticlimber
- Precision Scale EMD stanchions (& I used brass wire and formed my own handrails)
- Cannon & Co. Nose marker lights (from 88″ EMD Cab kits)
- Scratchbuilt flange lube system (my first attempt at scratchbuilding anything. so, I’m happy).
- Smokey Valley 48″ Q fans
- A-Line Athearn Repowering Kit
- A-Line Universal Coupling Kit, A-Line Flywheel Cement
- Details West Air Filter Set
- Details West 155 Plow
- Detail Associates uncoupling lever
- MU Hoses (whatever I had on hand)
- NCE D13SR DCC decoder
I was never able to determine if this unit would have had rear ditch lights or bug eye marker lights, but I opted to pass on the possibility. In addition, the dynamic brake blister isn’t quite right, and I’m not going to try to modify it. This unit is now “close enough” for me. Next up on the workbench: Turning a Kato SD40 into a Conrail SD40″-2″ 6981.
When I bought this, I knew nothing of CR GP40-2 varieties and thought I was buying a decent model. I think I overinvested in this somewhat, but I ended up with a unique model that’s pretty close to prototype.
