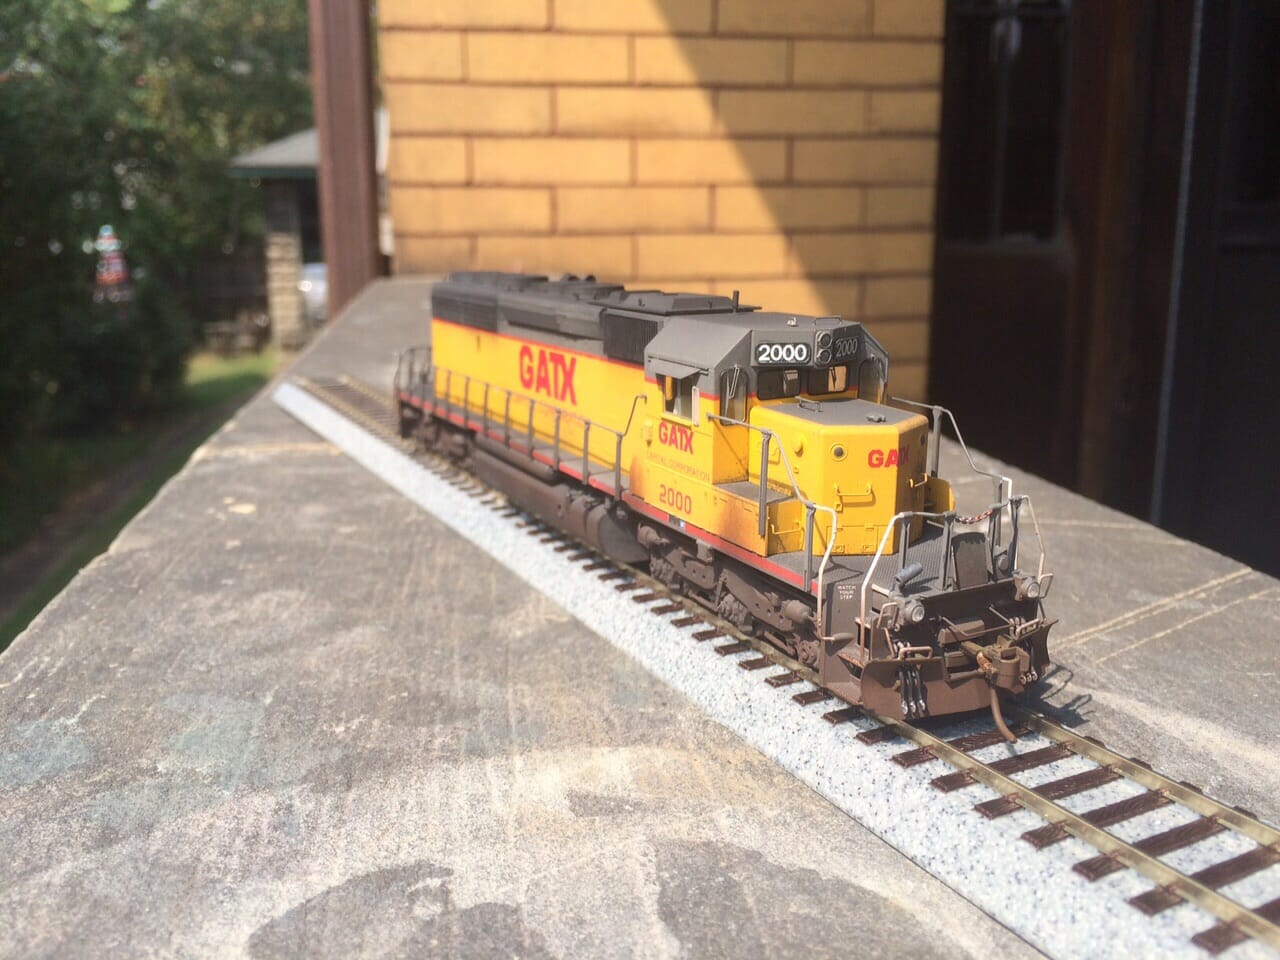

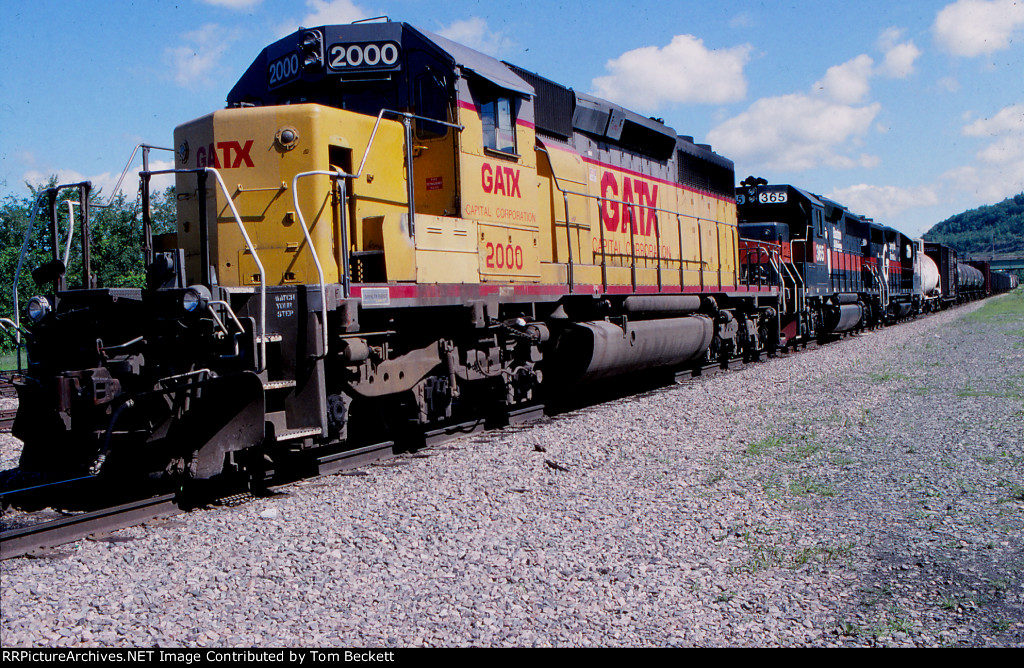
As I model the Allentown, PA area in the mid-1990s, I knew that I would need a yellow-and-gray GATX SD40-2 lease unit for the Delaware & Hudson trackage rights trains that plied the rails from Rouses Point, New York to Philadelphia, Penna.
During this era, railfans drowned in a sea of blue Conrail locomotives, and the handful of daily D&H trains provided some visual excitement in the form of CSXT and NS runthrough power, NYSW’s “Yellowjackets”, and after 1990, Action Red locomotives of D&H’s new owner, Canadian Pacific.
Not so exciting, however, were the too-common GATX lease fleet of SD40-2’s. Around a dozen blue former BN units were painted blue, and numbered in the GSCX 7300-series. Intermountain produced this model nicely in HO scale. Ten former Missouri Pacific units, in Union Pacific paint, joined the fleet in the late 1980’s and seemed to be assigned to D&H territory.

While originally built without dynamic brakes, I learned in my research that Conrail’s Juniata Shops installed dynamics in these units in 1992-1993. This changed meant that I could use a UP-yellow former CNW Intermountain unit as the starting point for this project. As the Intermountain model represents post-UP modifications, there was no CNW nose bell to relocate.
In 1995, CP exercised its option to purchase these units, numbering them into the 5410-series. But for the time I represent, 1993-1994, the GATX 2000 would make a fine addition to my D&H train fleet. GATX 2000 was built as Missouri Pacific 3164 in 1975, later becoming UP 4164. It was renumbered to CP 5422 in 1995.
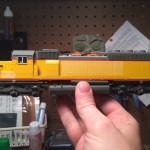
I started by removing the UP lettering, and leaving the striping in place. Micro-Sol, soaked into small pieces of tissue paper, were left to soak the decals for ten to fifteen minutes; I used tweezers and a #17 chisel blade to carefully lift the lettering off of the plastic. It was also necessary to remove the red striping from inside the step wells.
Using prototype photos for reference, I used thinned tan paint to airbrush areas that represented “patching” where the UP lettering was painted over on the real locomotive. While subtle, it adds a little “depth” to the appearance of the unit.
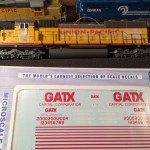
At this point, I should have applied some Glosscote before dealing, but I wasn’t hip to that trick at the time. So I applied Microscale’s MC-4058 decal set, and added builders plates, 600 Volt labels, and other details using other decal sets I had on-hand. Solvaset was used liberally to get the decals to set, pricking little bubbles with a sharp Xacto knife. In the process I messed up the A on one side, and had to reconstruct it using bits of red UP striping.
After this was all dry, I applied Dullcote a couple times to seal the decals in. Unfortunately I also sealed a few bubbles that I hadn’t noticed. Next time? Glosscote first! Lesson learned.
At this point, it was time for detail parts:
- Details West 157 Firecracker Antenna
- Details West small Sinclair antenna (for the EOTD)
- Cab sunshades (came with the unit)
- End sill drop steps (came with the unit)
- I removed the existing cab side vent and installed a Details Associates into the correct location
- Details West 149 air filter set
- Details West 190 Leslie RS3RL air horn
- Details West 155 plow would work, but I had a plastic equivalent that included the need handrails on-hand, so I used that instead.
Union Pacific has a neat detail of an MU Hose holder made of pipe that is mounted to the front handrail stanchion. I fashioned one out of electrical shrink tubing, as that’s what I had on-hand.
Finally, I relocated the factory ditch lights to more appropriate locations.
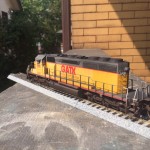
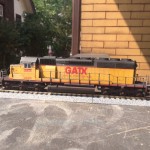
Moving onto final weathering, I first airbrushed the entire unit with a fade layer of thinned tan paint. I then used a grimy black on the grilles and fans, and a bit on the under frame. I then applied various rust and grime pastels to the body, rust and grey-black to the fuel tank and under frame, and grey-black to the roofline. After another sealing layer of Dullcote, I brush-painted thinned black to add depth to the fans and grilles, made some areas to represent spilled fuel on the fuel tank, and added some dry-brushed grime under the battery box on the conductor’s side of the locomotive. Finally I air brushed more grimy black to the roofline and under frame.
The last touch is to re-paint the air hoses to make them appear newer than the unit itself.
Overall, I’m pretty happy with how this unit turned out. It was a relatively simple project, and looks much like the prototype would have in around 1994. After some DCC speed-matching this unit will be ready to lead a D&H 555 north to Binghamton!

